Kids just love carousel rides and I just cannot understand why. I don't enjoy rides going round and round, makes me giddy all the time. I'll rather go for more exciting rides, give me roller coaster anytime.
The first time I saw a carousel cake was in Wendy's blog. I never knew such a cake exist. I told myself, one day I'll make this cake, one day.... To my own surprise, I decide to make it for DD3 this year. All my children are unique but DD3 is exceptionally special as her birthday falls on 29 Feb. I mean, how many of us can plan our birthdate to be on this date?
To celebrate her very special day, I decided on a carousel cake for her school celebration. But this decision got me really busy. I want the cake with mostly edible items/decorations, and not simply relying on some plastic materials/toys. Everything must be handmade, from scratch.
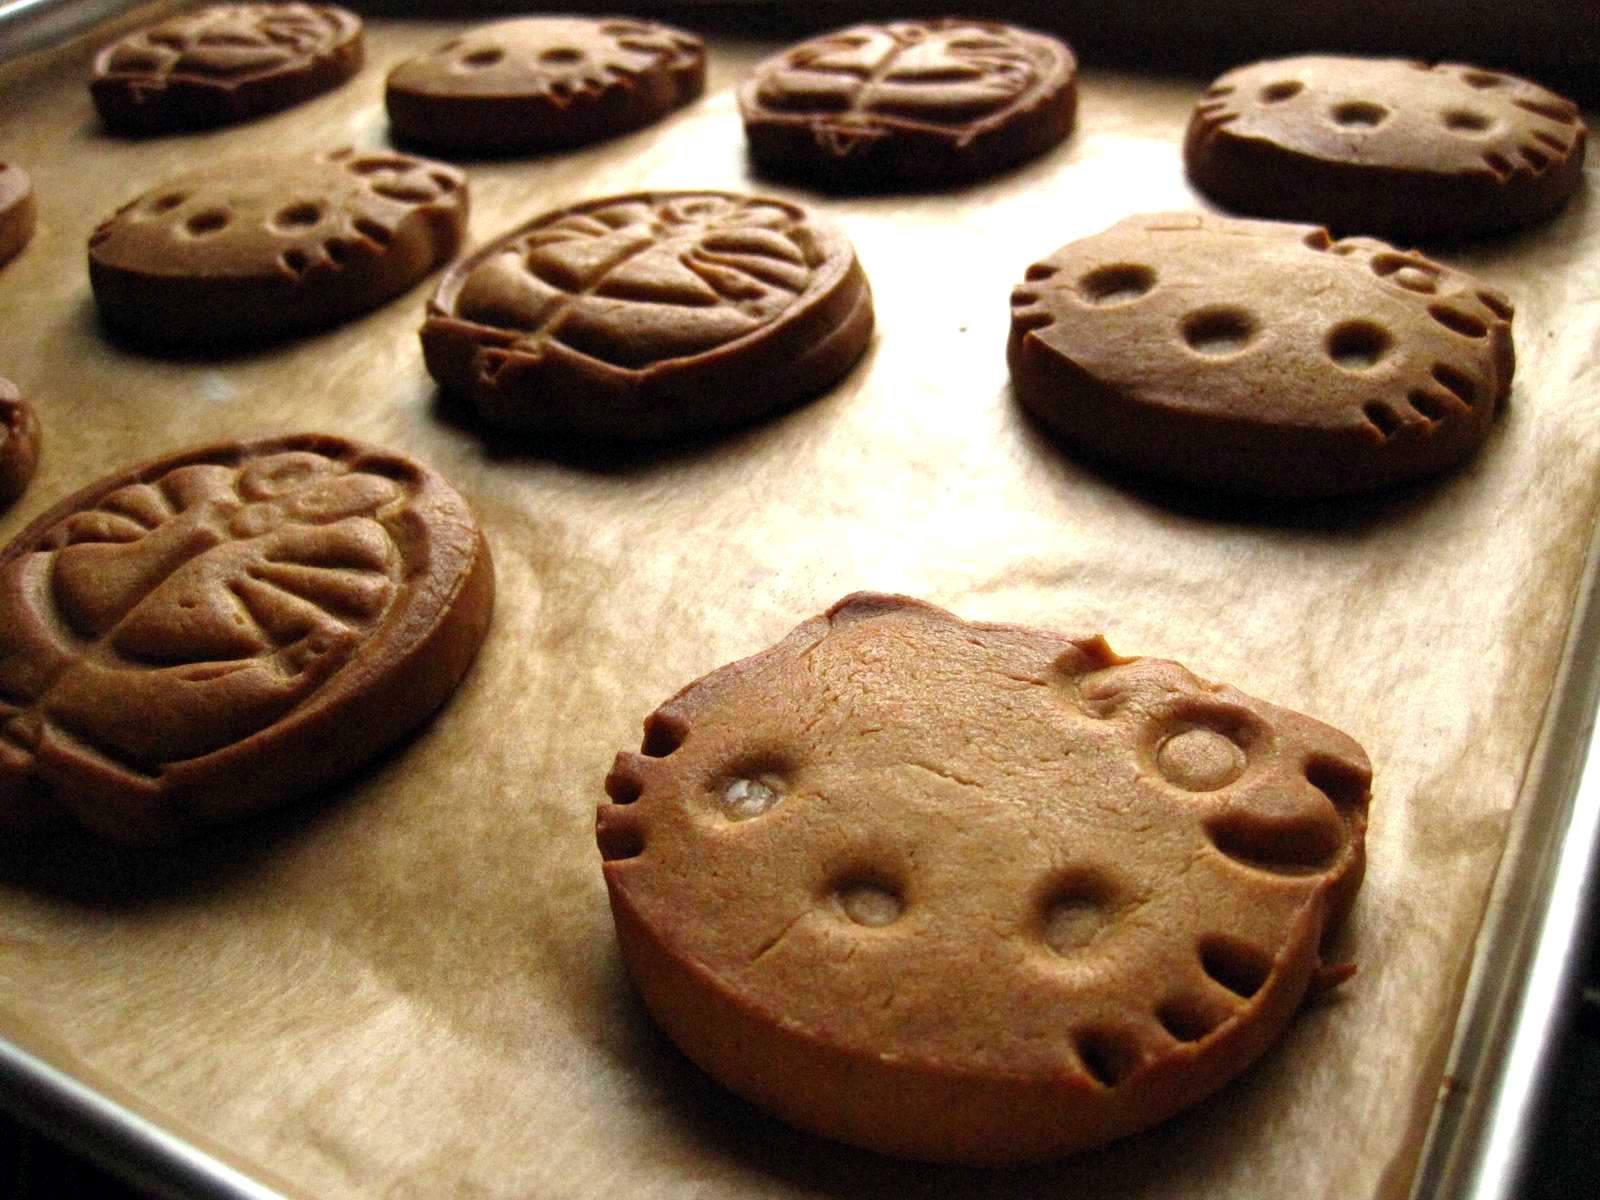
Wendy made her horses using chocolate, I'm no good in handling chocolates so this option is out. After a few sleepless nights, I decided on a gingerbread cookie. I didn't want butter cookies as I'm not a butter person. Moreover, this gingerbread cookie is a chewy cookie, relatively light (ie weight) if you compare with other cookies. I made the cookies 3 days ahead, at 1am. By the time I was done washing and packing up, it was already 3 in the morning. The next few nights weren't any better. I had to pipe the outline, leave to dry before I could flood the cookie and start piping the colours. A lot of time was spent on the cookies.
For the cake base, I made an orange chiffon cake with 6 eggs. I only like chiffon cakes in layered cakes, they are so light and soft. However, that's where my fear comes in. Can the chiffon cake support another cake on top? I read through Wendy's entry again and again, it seems that it is doable to just stack the cake with a middle support and some straws.
I wanted to make my own candles too upon seeing NC's pictures but she told me she has extras and offered me one! Yippy, now I don't have to make my own.
Looks like I'm all done? Wrong. I made 2 portions of SMBC (black raspberry powder) but they don't look like it is enough for the fillings, crumb coat and frosting of both cakes. I suspect it's probably enough for 1.5 cakes. I do not have enough time to make another batch so did a quick check with my neighbor, NC, to see if she has any frozen stash. Thankfully I have this neighbor who bakes. She did a few trials for her daughter's birthday cake just 2 weeks ago and there were leftover IMBC (red raspberry powder) in her freezer. I don't care, I don't mind, I just grabbed her offer and frosted the bottom cake with her IMBC and the top cake with my own SMBC. I believe I could have done a better decorating job if I had sufficient buttercream.
Enough said, let the pictures do the talking.


Besides the carousel cake, DD3 requested for a butterfly cake. That's another long story behind and I won't bore my readers here.


Chocolate chiffon cake with pitted cherries and dairy whipped cream.